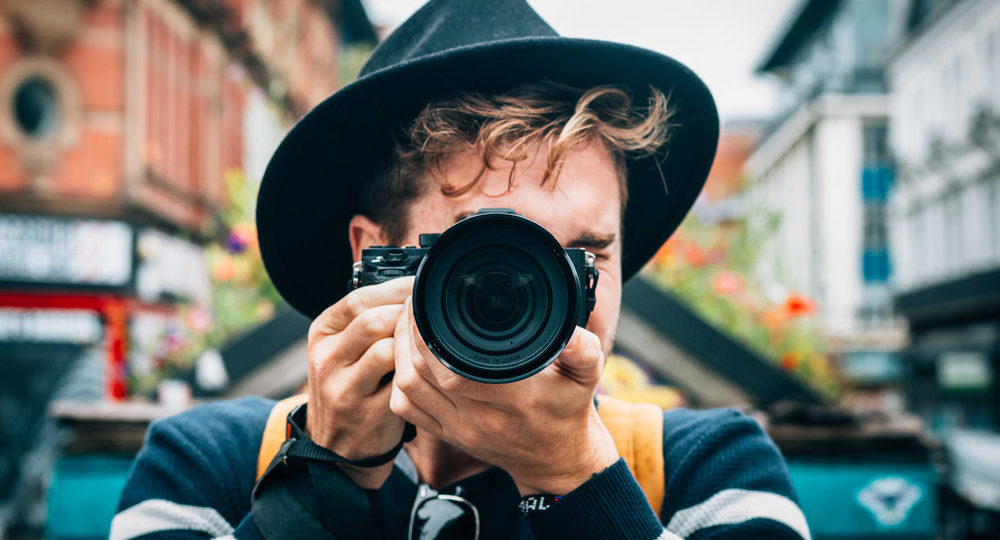
Are you a Travel Freak who loves to travel and click a lot of pictures? If you are photography enthusiast then this blog is definitely for you. Everyone one loves to capture that lovely moment when they are at the climax of there travel.
Just imagine, you have reached the peak of the mountain for which you were trekking for last 2 days and finally have reached the top. So after taking a deep breath and feeling the nature’s beauty don’t you want to share the same experience with your loved ones. And you do that by clicking it in your mobile phone or DSLR. Those aren’t just pictures those are memories that you have captured for your lifetime.
But won’t it be more interesting if you know how to click the pictures like a professional? So hold on, I’m going to tell you 10 tips for taking Amazing Travel Photos.
- Envision, Plan, then Create
- Place the Subject on the Edge
- Use the Light
- Perfection in Persistence
- Get OFF AUTO
- Shutter Speed
- Aperture
- ISO (Is the Sun Out?)
- It’s Not Cheating to use Photoshop
- Never Stop Shooting
First, think about the image which you want to capture. Just taking out the camera doesn’t make you ready for the shoot. You should first plan that how will you take the image, at what time of the day, in what lighting, at what angle and which lens will you use etc. The excellent pictures really need some planning. Everytime you click a photo, try to make it your own, whether it be some different location or the weather is not up to the mark, try to give it a personal touch.
The best photos are the ones which look completely natural and has got the essence of nature. The other should feel what the image want to say at all. It’s a good thought to place the subject in the centre. But while capturing the travel photograph it’s not at all wrong that you keep the subject aside and also focus on the background(the beauty of nature).
Before clicking a photo don’t forget to check the direction of the light. It may be creating some interesting highlights or some compelling shadows. The light may be coming from the sun or it’s your artificial light. Place your subject at the position where you can get the best shot from the light. You can easily utilize the light in to make your ordinary image to extraordinary.
If you want the perfect shot you should not just wait for the perfect moment to capture the shot. Sometimes, you have to keep taking the shots from different angles, different settings. Till you find the best shot which you were looking for. BUT make sure you are carrying in a large capacity memory card unless your memories will get uncaptured.
It’s not a new thing to do, even most of the professional photographers also do this. After clicking the images, you get a variety of images to choose from. In some of them, you may like the lighting, some may be having the most suitable angle and many more. Later you can choose the best one which completely suits your needs.
You don’t need to be afraid of the Manual Mode. You may feel you can’t get the perfect setting there while doing it manually. But trust me with some trial and errors you will learn to take the perfect shot soon. In the manual mode one basically needs to have a basic knowledge about the Aperture, Shutter Speed and ISO. By having such knowledge, it would be easier for you to adjust the setting. But keep in mind you can’t use the same setting for all your pictures. You need to change it according to the lighting, distance from the subject and many other major reasons.
Being aware of the Shutter Speed means that how you want your picture to look like a blurry or a sharp one. It all depends on your need. If you are shooting a race of the athletes or the children playing in the park. Then you may need to get the sharp images to capture the details of the moment. To capture those fast actions you will need to use the shutter speed over 1/500th of a second or even lower like 1/1000th to 1/2000th in DSLR.
On the other hand, if you want that your picture should have part of the subject running behind it then you can set the shutter speed to 1 sec. or even 10 sec. or longer. This is better in the images when you want the subject to look like it is still in motion.
Aperture is a hole in the lens which controls how much light will go through the sensor. It is simply represented by a focal length ratio, therefore f/8 is smaller than f/2. If the aperture is large then it will allow more light to go through it.
Other than this, aperture also controls the depth of the field, which determines how much of the images are in focus. This effect is only noticeable in the cameras with larger sensors.
There is always a question which you should ask yourself while using ISO:
What time of the day you are shooting? If you are shooting in the daytime then you will need to use lower ISO such as 100 or 200. And when you are shooting in the night without the tripod stand then you should need to use a higher ISO to record more light on the camera sensor.
Is your subject getting enough lighting? If your subject is placed in a dark scene then you will need to use a higher ISO such as 800 or 1600.
Don’t Forget increasing the ISO also increases the size of the pixels making it look noisy.
Photography is not a news, its an art. So you can change it according to your need. And changing it also help you to add some details which you may miss while in the actual shot. Sometimes you may need to add some brightness, blur the edges, or increase the saturation to get the perfect image. And for this, Photoshop is the best tool in the market. But after editing the photos don’t start announcing that it’s the actual photo which you captured. Or may get caught if its seen by an expert or you are not yourself an expert.
The best way to learn photography is by never stop shooting. Carry the camera bag with you where ever possible. And take every shot which you think should need to be captured. By the time of a lot of practice, you will surely get expert in it. And soon you will understand your style and your “voice” will start emerging in your photos and speak for themselves. And it will surely be more authentic when it does.
So guys if you learned something today, so don’t forget to share it with your friends and give your feedback below in the comments.
Btw, have you checked our another blog 7 ways to save money on the road

Hiya! I just would like to give an enormous thumbs up for the good information you may have here on this post. I can be coming back to your blog for extra soon.
I’m truly enjoying the design and layout of your site. It’s a very easy on the eyes which makes it much more pleasant for me to come here and visit more often. Did you hire out a designer to create your theme? Superb work!